
Nordic walking and fitness trekking require consistent ground engagement to transfer upper-body force into forward propulsion. The interface between the pole shaft and the terrain determines how efficiently this force converts into movement. Pole assemblies terminate either in a bare tungsten carbide tip or in an auxiliary vulcanized rubber fitting known as an angled pavement paw. Using the wrong tip interface creates two distinct failures: lack of grip, which leads to pole slippage and unstable posture, or excessive impact vibration, which transfers mechanical shock to the wrist, elbow, and shoulder joints.
Selecting between carbide spikes and rubber paws is not a matter of personal preference. The decision depends on the hardness, aggregate structure, and penetration resistance of the ground. This guide specifies the mechanical behaviors of both interfaces, defines objective surface categories, and outlines practical operating procedures for switching between tips on mixed-terrain journeys.
Surface Classification and Friction Requirements
Ground surfaces fall into two functional categories based on whether a pole tip can penetrate the top layer under the downward force of an average push. During standard technique, an adult walker applies between 5 and 15 kilograms of axial force to each pole at an angle between 40 and 50 degrees relative to the horizontal ground. The mechanical behavior of the ground under this force determines whether traction must come from surface penetration or surface friction.
Impervious surfaces resist point penetration entirely. This category includes poured concrete, rolled asphalt, granite flagstones, cured tarmac, and solid bedrock. On these materials, a pointed metal spike cannot seat itself into the material without fracturing either the rock or the carbide matrix. Traction on impervious ground depends on high coefficients of friction generated by rubber compounds against surface micro-texture.
Pervious and friable surfaces yield under mechanical load. This group includes packed gravel roads, dirt trails, forest litter, sand, turf, and winter ice. On these surfaces, soft rubber cannot establish reliable friction because the top layer shears away beneath the paw. Stability requires a rigid carbide point that pierces the unstable top layer and anchors against the compacted substructure beneath.
| Surface Type | Primary Material State | Mechanical Requirement | Recommended Interface |
|---|---|---|---|
| Asphalt Roadways | Impervious, rigid aggregate | Frictional adhesion and shock absorption | Vulcanized rubber paw |
| Poured Concrete Sidewalks | Impervious, smooth or brushed | High friction coefficient | Vulcanized rubber paw |
| Crushed Stone paths (size under 8 mm) | Semi-friable, high aggregate shift | Penetration to base substrate | Carbide spike tip |
| Forest Floor / Loam | Yielding, organic matter | Shear displacement and deep hold | Carbide spike tip |
| Glacial Rock / Sheet Stone | Impervious, uneven | Surface wedging or friction | Variable: rubber on dry, carbide on micro-crevices |
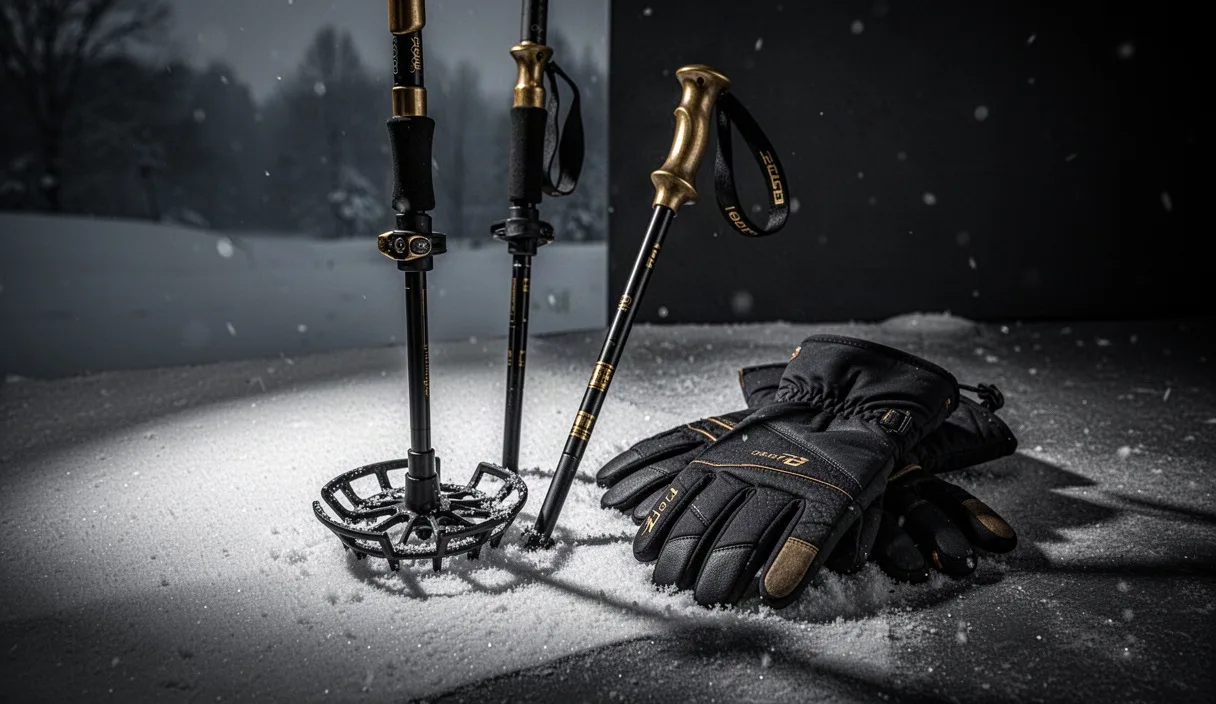
| Surface Ice | Rigid, low-friction crystalline | Point penetration fracture | Carbide spike tip |
Angled Rubber Paw Mechanics on Paved Ground
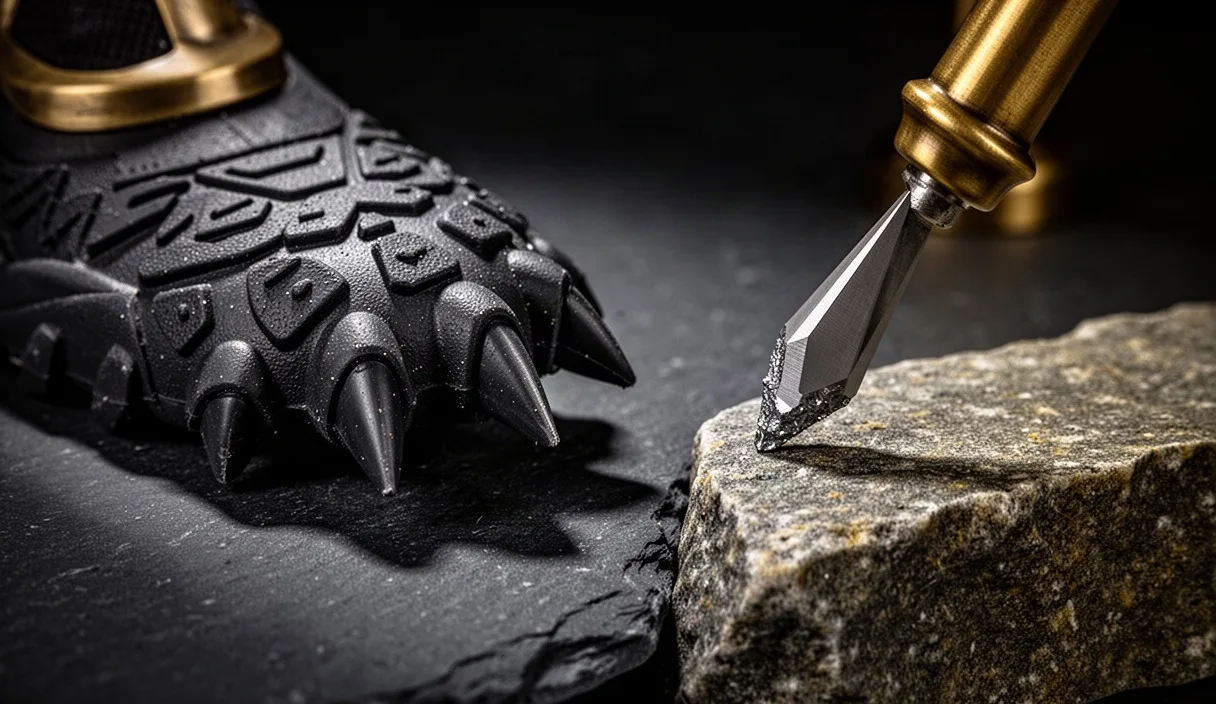
Pavement paws are asymmetric rubber sleeves designed specifically for the backward-angled propulsion characteristic of Nordic walking. Unlike symmetric trekking pole caps, which are round and sit vertically, a Nordic paw features a distinct heel and toe geometry resembling an athletic shoe. The bottom surface sits at an angle between 42 and 48 degrees relative to the pole shaft. This geometry ensures that when the user plants the pole behind the center of gravity, the full footprint of the paw rests flat against the pavement.
The rubber formulation balances two competing physical properties: durometer hardness and tensile wear resistance. Most paws use vulcanized synthetic rubber rated between 65 Shore A and 75 Shore A. A compound below 60 Shore A provides exceptional grip on damp tarmac but abrades rapidly, sometimes wearing flat within 30 kilometers of walking. A compound above 80 Shore A lasts for several hundred kilometers but skids across smooth concrete because it cannot deform into the microscopic pores of the stone.
The interior structure of a quality rubber paw contains an embedded steel reinforcement washer. When an athlete applies forceful backward thrust, the narrow carbide tip inside the rubber creates intense focal pressure. Without this internal metal washer, the metal tip will puncture the bottom of the rubber sleeve after 5 to 15 kilometers of use, exposing the metal spike and destroying the paw from the inside out.
A secondary function of the rubber paw is acoustic and joint dampening. Striking concrete with a bare tungsten carbide point generates high-frequency impact waves that travel straight up an aluminum or carbon-composite shaft into the walker's carpal bones and lateral epicondyle. Over long training blocks, these vibrations can exacerbate conditions like lateral epicondylitis. The elastomeric structure of the paw attenuates this shock impulse, reducing structural vibration before it enters the arm.
Carbide Spike Penetration on Unpaved Surfaces
Beneath removable rubber paws lies the factory tip: a cylindrical or conical sleeve of durable polymer housing a tungsten carbide insert. Tungsten carbide is an exceptionally hard cermet material composed of tungsten carbide grains bonded with cobalt. It ranks between 8.5 and 9.0 on the Mohs mineral hardness scale, allowing it to bite into quartz, granite, and hardened ice without blunting its edge.
Carbide tips are engineered in two standard profiles:
- Concave or Crown Tips: The working end features a recessed center ring with sharpened perimeter edges. This design provides multidirectional bite on wet roots, slick trail stone, and hardpack earth. The outer rim catches small rock fissures even if the pole lands at an acute angle.
- Conical or Point Tips: The working end tapers directly to a small, blunt point. These penetrate dense ice and deeply packed clay efficiently, but offer slightly less lateral traction on wet, flat river stones than crown profiles.
When a pole strikes soft earth, the carbide tip displaces loose soil, dead leaves, and fine grit until it encounters resistance from stable sub-soil. This mechanical interlock prevents the pole from slipping backward during the pushoff phase. Attempting to use a rubber paw on this type of ground results in propulsion loss: the rubber tread fills with loose soil particles, loses all friction, and slips backward along the surface plane.
Carbide tips produce noticeable drawbacks when used on unyielding surfaces like paved roads. On asphalt, the point cannot bite; instead, it scratches the top bitumen coat, produces an abrasive screech, and skitters outward. Furthermore, striking granite curbstones with a bare carbide tip can fracture the brittle cermet insert, chipping the sharp perimeter ring and permanently degrading its ability to grip future woodland trails.
Transition Protocol for Mixed-Surface Routes
Routes that combine asphalt links with public footpaths, parks, and bridleways require frequent transitions between bare tips and rubber paws. Failing to transition correctly leads to premature paw damage or pole slippage. To maintain pace and protect equipment, establish a standard operational sequence rather than stopping to sit down at each terrain change.
Removing Paws for Soil and Gravel Entry
- Bring your walking pace down to a controlled stride or pause beside the trail to clear the path for other users.
- Grasp the rubber paw with your free hand while maintaining your grip in the pole wrist strap. Twist the paw 90 degrees left and right to break any dried mud seal inside the socket.
- Pull the paw firmly straight off the tip axis. Do not bend the rubber sideways against the shaft, which can weaken the polymer basket ferrule.
- Clean loose debris out of the internal cavity using a quick tap against your shoe heel or a swipe of your finger.
- Store the paws immediately in an accessible pocket, a dedicated waist pack loop, or onto the integrated tip holders built into certain pole shafts. Do not hold them loosely in your palms, as this alters strap tension and hand grip mechanics.
Mounting Paws for Asphalt and Concrete Entry
- Inspect the bare carbide tip. Wipe away thick loam or clay build-up around the plastic ferrule collar. Trapped sand inside the rubber sleeve will prevent full seating and accelerate internal wear.
- Identify the directional orientation of the paw. The elongated, tapered heel must point backward toward your rear stride; the blunt toe faces forward in your direction of travel.
- Push the paw onto the carbide tip assembly using firm manual pressure until the tip seats fully against the internal stop washer.
- Set the pole on the pavement and apply 10 to 15 kilograms of downward vertical body weight along the shaft line. A faint click or solid seating resistance indicates the paw is mechanically secured. Check that the bottom tread aligns parallel with your forward plane of movement.
Wear Indicators and Replacement Thresholds
Both rubber paws and carbide spikes are consumable components. Their lifespan varies based on user weight, stride power, shaft angle, and the coarseness of local asphalt. Inspecting tips every 50 to 75 kilometers prevents damage to the underlying pole shaft ferrule.
Rubber Paw Inspection Criteria
- Tread Depth Depletion: Factory paws typically provide 2.5 to 4.0 millimeters of directional tread. When abrasion wears this pattern down to a smooth rubber surface under 1.0 millimeter in depth, wet-weather friction drops significantly. Replace the paw immediately if the bottom is completely slick.
- Asymmetric Edge Slant: Walking mechanics often cause localized wear along the outer lateral edge of the paw heel. If this angle exceeds 15 degrees relative to the original base plane, the pole will rotate off-axis during force transfer, placing torsional strain on the wrist strap.
- Internal Washer Breach: Look inside the empty paw cavity using direct light. If you see shiny metal or if the tungsten carbide tip has worn a visible ring into the rubber cavity floor, discard the unit. An internal puncture will allow the carbide tip to strike the road through the bottom of the rubber.
Carbide Tip Inspection Criteria
- Perimeter Crown Chipping: On concave tips, check that the circular outer ridge remains intact. If more than a third of the circumferential rim has broken away due to rock strikes, the tip will slide under off-axis loading.
- Ferrule Plastic Separation: The carbide insert is seated inside a plastic cone (ferrule). If the plastic around the insert splits, cracks, or allows the carbide core to wobble, replace the entire ferrule assembly. Continued use will cause the metal insert to eject entirely.
- Carbide Core Retraction: Measure the projection of the metal insert past the plastic housing. Factory tips generally protrude 8 to 12 millimeters. If aggregate wear grinds this exposure down to under 4 millimeters, the plastic housing will drag against rough ground, preventing positive mechanical grip.
Common Mistakes
One frequent mistake is leaving rubber paws mounted when walking through deep mud or wet grass. Suction from thick clay easily pulls friction-fit rubber paws off the shafts, leaving them lost in the soil. Mud also coats the rubber tread, turning the paw into a slick surface with zero friction on trail grades.
Another error is mounting pavement paws backward. If the pointed heel faces forward, the pole pivots on a sharp point rather than a flat rubber footprint during the backward push. This creates sudden slippage midway through the arm swing and causes uneven rubber wear within a single outing.
Hikers and Nordic walkers also frequently ignore the buildup of fine grit inside the paw socket. Slipping a paw over a mud-caked carbide tip grinds sand directly against the carbon or aluminum ferrule, widening the plastic sleeve until the paw falls off during normal walking swings.
Next Steps for Pole Maintenance
To keep pole tips functional and safe across a season of training, adopt a simple maintenance routine:
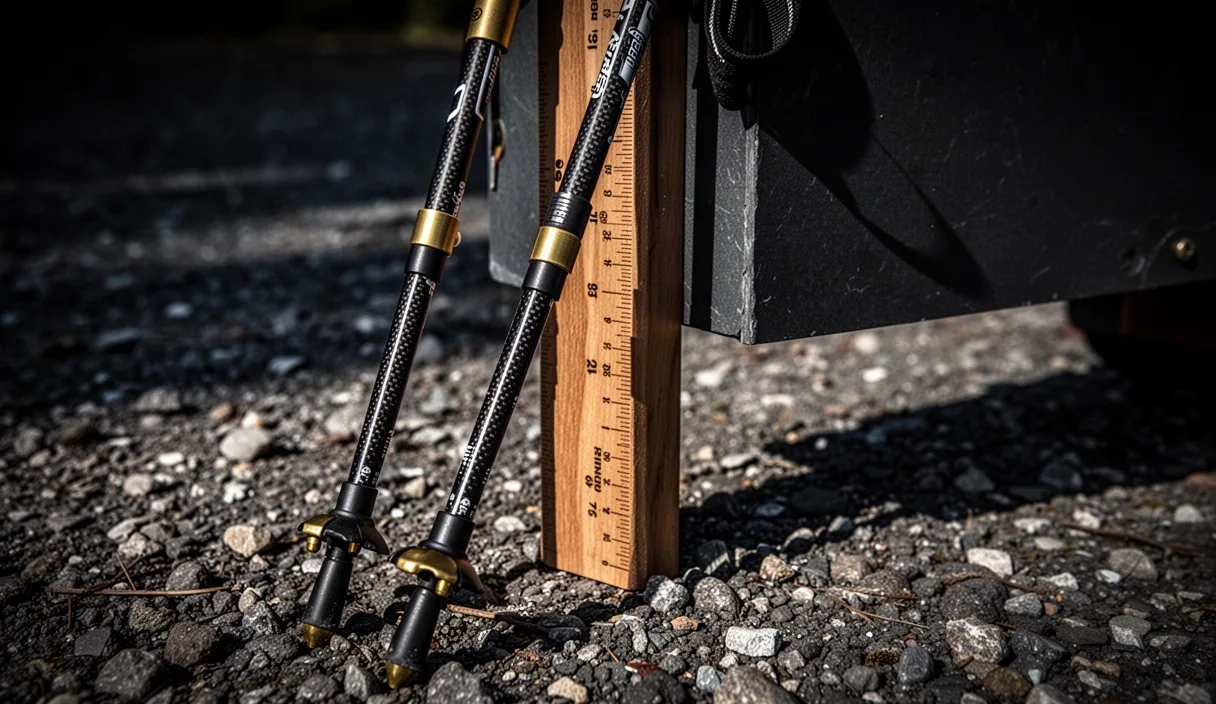
- Measure your current equipment: Remove your pavement paws today and inspect the internal metal washer with a small flashlight. Check the remaining tread depth on the heel using a ruler or small depth gauge. If the tread thickness is under 1.0 millimeter, order replacement paws before your next road session.
- Carry matched spares: Keep a spare pair of paws and a pair of basic round rubber trail caps in your pack on any trek exceeding 10 kilometers. Rubber components are easily lost in roadside drainage grates or thick brush.
- Clean ferrule assemblies after wet routes: Rinse carbide tips under running water to clear clay, grit, and road salt. Allow them to air-dry completely before sliding rubber paws back on for indoor storage. Storing moist tips inside rubber caps promotes oxidation on the steel retaining components.
- Evaluate personal joint comfort: If you experience persistent discomfort in the forearms, wrists, or elbows after road walking, review your pole plant angle and rubber paw freshness. If pain continues despite correct paw dampening, consult a physiotherapist or certified Nordic walking instructor to evaluate your technique and posture.