
Cold-weather walking places mechanical demands on equipment that standard autumn or summer conditions never produce. Sub-zero temperatures change the dimensions of metals, decrease the elasticity of structural plastics, and cause residual water to freeze inside telescopic tube segments. When equipment tolerances change in the field, pole sections can slip under body weight or seize entirely, turning a routine adjustment into a failure that compromises stability on packed snow or icy ground.
Handwear adds another operational layer to this mechanical environment. Thick winter gloves alter how hand straps transmit kinetic force, while also reducing tactile feedback during locking clamp adjustments. Managing poles and handwear in winter requires an understanding of how cold air acts upon shaft materials, how locking mechanisms maintain friction under thermal contraction, and how to configure glove systems so they do not pinch blood vessels or distort ergonomic wrist supports.
Thermal Effects on Aluminum and Carbon Fiber Shafts
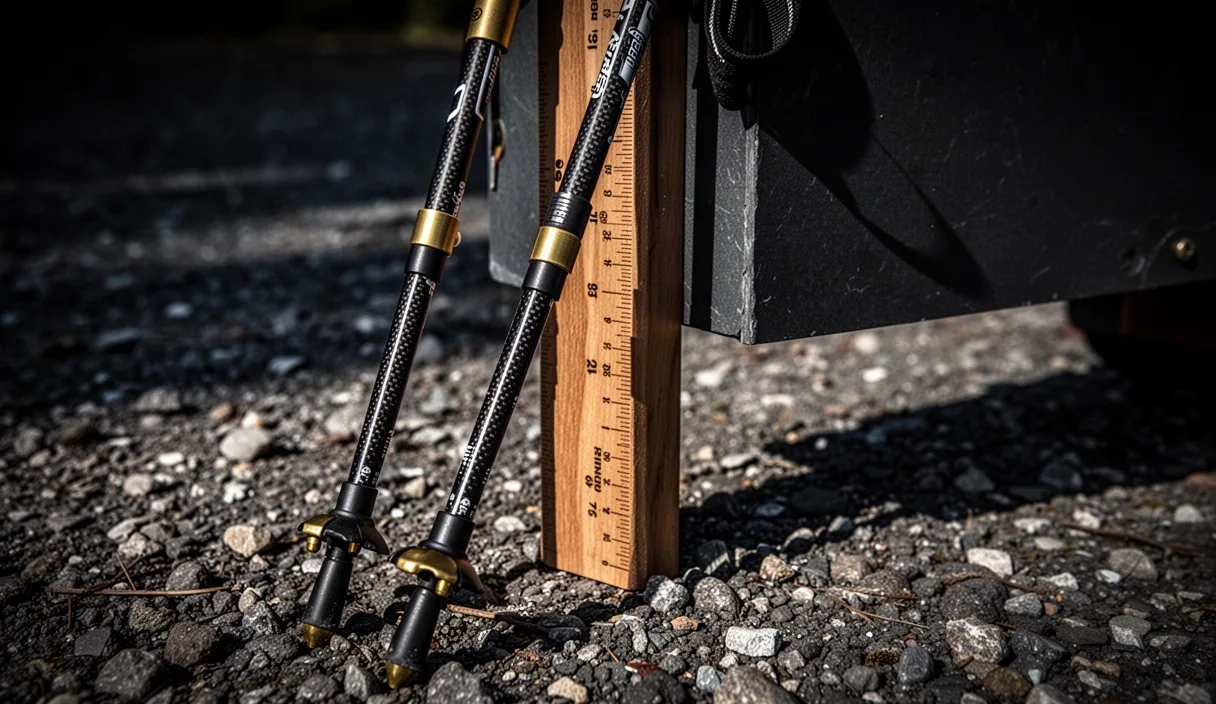
Trekking and walking pole shafts are predominantly made from aircraft-grade aluminum alloys (typically 7075-T6 or 6061) or carbon-fiber-reinforced polymer composites. These two materials respond to freezing environments in fundamentally different ways because of their thermal expansion coefficients and internal physical structures.
Aluminum has a linear thermal expansion coefficient of approximately 23 x 10-6 per kelvin. When ambient temperatures drop from a 20 degrees Celsius room to a minus 10 degrees Celsius trail environment, an aluminum tube contracts measurably in both length and circumference. While this microscopic shrinkage does not threaten structural integrity, it directly changes the interface between overlapping pole sections. Aluminum transfers thermal energy rapidly, meaning cold shafts immediately draw heat out of hands through uninsulated foam or cork grips. In severe cold, bare skin touching an exposed aluminum shaft can freeze to the metal within seconds.
Carbon fiber composite behaves differently. The carbon filaments have an axial coefficient of thermal expansion near zero (or slightly negative), while the binding epoxy matrix shrinks slightly when chilled. The primary concern with carbon fiber in cold weather is not dimensional shifting, but the glass transition behavior of the resin matrix. At temperatures below minus 15 degrees Celsius, standard epoxy systems become significantly more brittle. A lateral blow against a hidden granite boulder or hard ice ledge that might merely dent a 7075 aluminum shaft can cause a cold carbon fiber tube to fracture or delaminate cleanly.
| Shaft Material | Thermal Conductivity | Cold Contraction Rate | Primary Sub-Zero Failure Mode | Recommended Low-End Limit |
|---|---|---|---|---|
| Aluminum 7075-T6 | High (rapid heat loss) | Moderate (requires clamp re-tensioning) | Joint slippage due to dimensional shrinkage | Minus 30 degrees Celsius |
| Aluminum 6061 | High (rapid heat loss) | Moderate (requires clamp re-tensioning) | Bending under shock load | Minus 25 degrees Celsius |
| Carbon Fiber (Standard) | Low (acts as insulator) | Negligible (stable dimensions) | Brittle fracture from lateral impact | Minus 15 degrees Celsius |
| Carbon Fiber (Cold-Rated) | Low (acts as insulator) | Negligible (stable dimensions) | Delamination under severe cyclic torsion | Minus 28 degrees Celsius |
For temperatures that stay reliably below minus 10 degrees Celsius, high-grade aluminum remains the standard recommendation for technical walking over broken terrain. Its tendency to deform rather than shatter gives the walker advance warning of structural failure, whereas cold carbon fiber provides no deformation warning before a total break.
Maintaining Internal Cam Locks and External Levers
Poles rely on either internal expander plugs (cam locks) or external lever clamps (flick locks) to hold telescopic sections at a fixed length. Both mechanisms face reduced friction in winter, but external lever systems are substantially easier to inspect, adjust, and clear of ice in the field.
Internal cam locks function via a threaded wedge that forces an expandable plastic sleeve outward against the inner wall of the outer pole section. In cold weather, this system has two points of failure. First, the plastic sleeve hardens and loses surface compliance, reducing the friction coefficient against the metal. Second, any microscopic moisture inside the tube glazes the inner wall with ice, allowing the expander to spin freely without gripping. If internal locks must be used in winter, they must be stripped completely dry at home, wiped down with 90 percent or higher isopropyl alcohol, and reassembled without any oil, grease, or silicone lubricant.
External lever clamps work by compressing a split collar around the inner shaft using an eccentric cam driven by an outer lever. Because the collar is exposed to cold air, the plastic band contracts, but the aluminum shaft inside contracts slightly more. This causes the clamp to lose clamping preload. Maintaining external locks requires a methodical calibration before leaving the trailhead.
Tension Calibration Procedure
- Open the external lever arm fully so the joint moves freely without scraping.
- Locate the knurled adjustment thumb screw or micro-bolt opposite the lever arm.
- Tighten the adjustment screw clockwise in precise quarter-turn increments.
- Close the lever arm. The clamp should require firm pressure from the ball of the thumb to snap shut, but it must not require two hands or excessive force that could snap the hinge pin.
- Test axial load holding strength by placing the pole tip on a solid, non-slip surface and leaning straight down with approximately 35 to 45 kilograms of downward force.
- If the shaft telescopes under load, open the lever, add another quarter-turn to the screw, and repeat the load test.
Avoid over-tightening external clamps when they are cold. Sub-zero nylon and composite lever housings become brittle, and forcing an over-tightened lever shut in temperatures below minus 5 degrees Celsius can crack the collar or shear the steel pivot pin.
Layering Systems Compatible with Ergonomic Straps
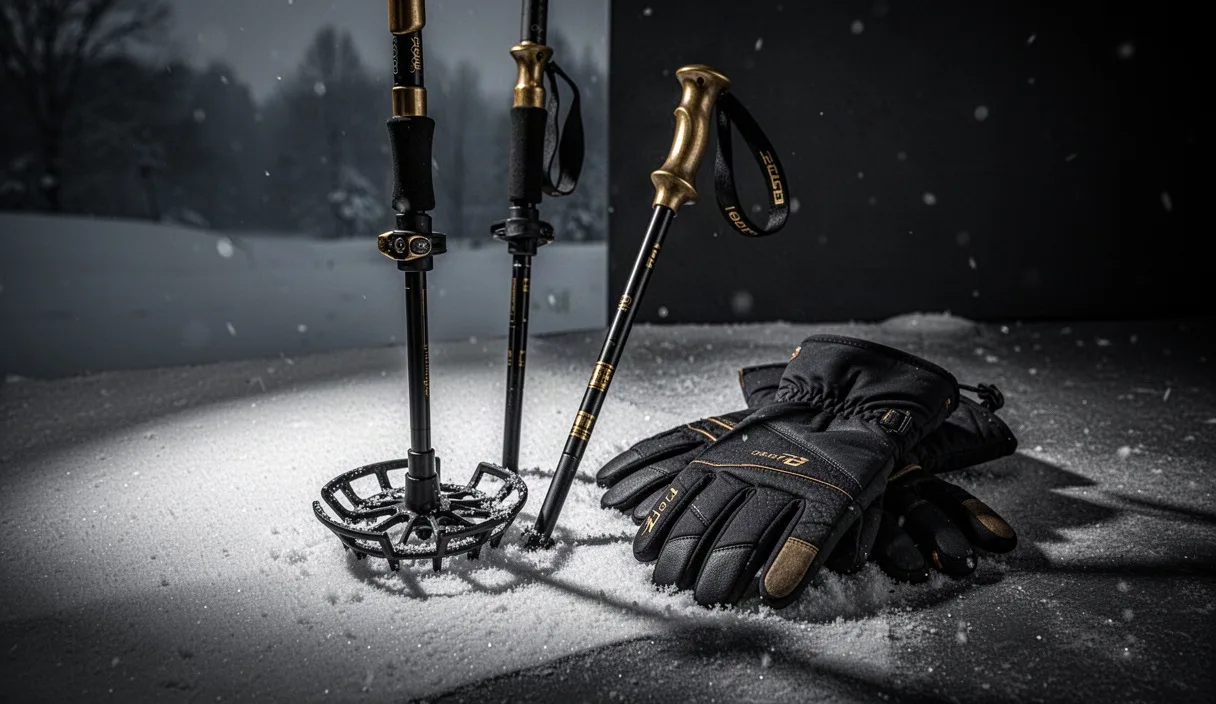
Standard loop straps and Nordic-style quick-release harness straps are cut to match bare hands or light liner gloves. When thick insulated winter gloves are introduced, strap fit deteriorates quickly. A poorly integrated glove and strap system can restrict blood circulation to the fingers, cause cold injuries, and prevent proper push-off mechanics.
An effective handwear system for pole walking uses three thin layers rather than one heavy, bulky glove. This approach maintains hand articulation and prevents the strap from constricting the palm.
- Base contact liner: A thin, high-gauge merino wool or dense polyester liner (150 to 200 grams per square meter). This layer wicks perspiration away from the skin and provides thermal protection when adjusting metal locking cams with bare fingers.
- Mid-layer softshell or wind-block glove: A close-fitting glove with a windproof exterior and a thin fleece lining. The palm must be free of bulky gel pads or excessive seams that bunch up under the pole grip.
- Outer protective mitten or over-mitt: A wide-cuff, water-resistant outer shell carried in a waist pack or jacket pocket, pulled on only during static rest breaks or downwind exposed ridge crossings where pole straps are temporarily removed.
Ergonomic straps, particularly the click-in glove harnesses used on Nordic walking poles, present unique clearance issues. These harnesses feature a dedicated thumb aperture and wrap around the thenar eminence of the hand. If you wear an insulated ski glove inside a standard medium or large harness, the fabric bunches in the web of the thumb. This bunching concentrates pressure on the radial nerve and limits capillary blood flow to the digits.
When selecting winter handwear for use with ergonomic harnesses, choose gloves that lack external knuckle protectors, synthetic leather palm overlays, or thick insulation on the palm side. The glove palm must remain thin to allow the harness to seat directly against the hand structure. If your winter gloves increase your hand circumference by more than 15 millimeters, replace your pole harnesses with the next size up to prevent cold-induced numbness.
Installing Wide Snow Baskets on Standard Ferrule Tips
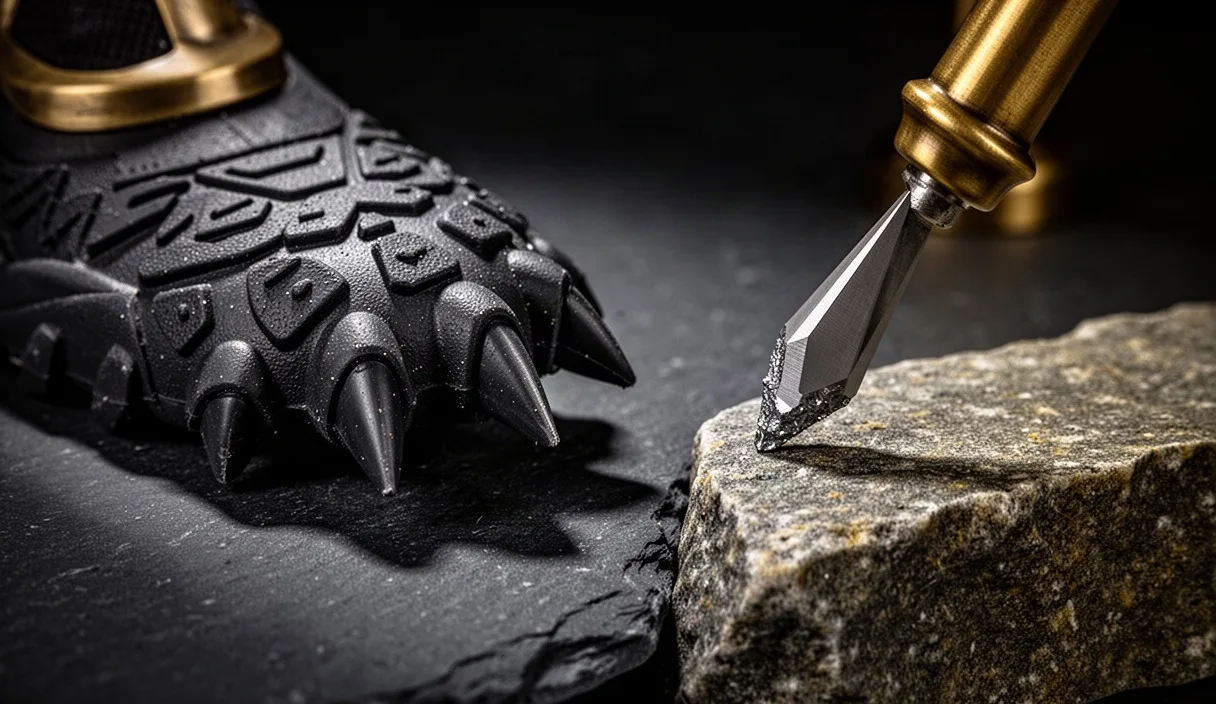
Standard walking poles ship with compact mud baskets measuring between 35 and 50 millimeters in diameter. In snow conditions, these small baskets provide almost no resistance, allowing the pole to sink deep into the snowpack on every plant. Wide winter snow baskets (typically 80 to 100 millimeters in diameter) are necessary to disperse downward load across the snow crust.
Snow baskets mount to the plastic ferrule located just above the carbide tip. Manufacturers use several proprietary attachment methods: coarse screw-on threads, snap-fit rings, or bayonet-style twist detents. Swapping baskets in freezing conditions is difficult and frequently breaks the plastic retention tabs. Perform this conversion indoors before setting out.
Step-by-Step Basket Replacement
- Clean all dirt, dried mud, and grit out of the threads and locking detents of the tip ferrule using a stiff nylon brush.
- If the existing mud basket is stiff, immerse the lower 60 millimeters of the pole tip in warm water (roughly 40 degrees Celsius) for two minutes to soften the polymer. Do not use boiling water or an open flame, which can soften the hot-melt adhesive bonding the ferrule to the shaft.
- Firmly grip the mud basket with a rubber jar opener or work glove and unscrew it counter-clockwise, or pull it downward over the retaining barb depending on the brand design.
- Inspect the ferrule for structural stress marks, white shear lines, or missing threads. If the ferrule is cracked, replace the entire tip assembly before walking.
- Thread or press the new wide snow basket onto the ferrule until it passes the primary retention lip and seats against the positive mechanical stop.
- Verify that the basket can articulate or rotate slightly if it is a floating design, or that it is fully locked if it is a fixed threaded design. A basket that sits loose on the threads will unthread itself within 500 meters of walking in crusty snow.
Always inspect the basket flex profile. A good winter basket has flexible outer scalloped edges that bend when striking hard ice at an angle, keeping the carbide tip planted securely on the trail instead of levering it out of position.
Preventing Moisture Intrusion in Telescopic Joints
Water intrusion inside telescopic poles is the most frequent cause of winter mechanical failure. When walking through deep powder, snow gathers around the joint collars. Body heat radiating down the shaft, or transitions between freezing outdoor air and warm transport vehicles, melts this snow. Capillary action draws the liquid water past the collar into the tight gap between overlapping tube walls.
When the pole is taken back into sub-zero air, the trapped water freezes. Because water expands by roughly 9 percent upon freezing, this ice exerts immense outward pressure on the outer tube and inward pressure on the inner tube. This expansion leads to jammed sections that cannot be lengthened or shortened, fractured plastic collar collars, or distorted aluminum wall geometry that makes future adjustments impossible.
To eliminate moisture intrusion and prevent freezing lock-ups, apply the following field and post-trip maintenance rules:
- Keep joints away from direct snow contact when resting: Never stab poles deep into snowdrifts during breaks. Lay them across your pack, or stick only the bottom carbide tips into the hard crust, keeping all adjustment collars well above the snow surface.
- Clear snow collars before collapsing: If you must adjust pole length during a walk, brush away all snow and ice crystals from the collar area with a stiff glove or brush before releasing the lever. Never slide a snow-covered lower shaft upward into an upper shaft.
- Perform a complete post-walk teardown: After every winter excursion, completely dismantle the poles by pulling all sections apart. Wipe the exterior of the inner shafts and use a dry cotton cloth pushed through with a thin wooden dowel to clear out the inner bores of the outer shafts.
- Air-dry fully at room temperature: Leave the sections disassembled in a vertical position in a dry room for at least 12 hours. Do not place carbon fiber sections directly against hot radiators or wood stoves, as localized heat can degrade the composite resin matrix.
Common Mistakes
Applying lubricants to internal or external locking systems is a widespread and destructive error. Many users spray penetrating oil, light machine oil, or silicone fluid into sticky telescopic joints. In winter, these fluids lower the friction coefficient between shafts and locking mechanisms, causing the poles to collapse under downward body weight. Petroleum-based lubricants also degrade certain synthetic plastics used in expander plugs and external collar housings.
Another frequent mistake is applying intense localized heat to free a frozen joint in the field. Using cigarette lighters, camp stoves, or hot exhaust fumes to thaw a seized lever or expander melts internal plastic bushings, weakens the structural integrity of composite shafts, and degrades the tempered strength of thin aluminum walls. If a pole freezes solid on the trail, leave it at its current length until it can be thawed gradually at room temperature.
Finally, walkers often wear heavy expedition mittens over their hands and then force their hands into tight Nordic wrist straps. This cuts off ulnar artery circulation. If you must use heavy mittens due to extreme cold or conditions like Raynaud syndrome, remove the wrist straps entirely and rely on a secure direct grip on the pole handle, or purchase oversized strap harnesses engineered specifically for expedition-weight handwear.
Practical Next Steps
Before using your poles on snow or frozen trails, perform an equipment audit to verify that your gear is configured for sub-zero conditions:
- Bring your poles, your winter gloves, and your chosen basket kit into a well-lit workspace.
- Dismantle every pole segment, check the inner walls for oxidation or moisture, and wipe them clean with isopropyl alcohol on a lint-free patch.
- Fit your wide snow baskets using warm water to soften the plastics, confirming that the retaining detents click firmly into place.
- Put on your base liner and mid-layer winter gloves, thread your hands into the pole straps, and calibrate the strap length. Confirm that your wrist sits comfortably in the support wedge without restricting blood flow.
- Reassemble the pole sections to your operating length, adjust the external lever clamps to the correct mechanical preload, and perform an axial body-weight push test to verify holding power.
If you discover structural fractures in a carbon shaft, stripped threads on an aluminum adjustment collar, or persistent numbness in your hands despite strap adjustments, discontinue use immediately. Consult an equipment technician at an authorized gear retailer for replacement parts, or speak with an occupational therapist or medical professional if circulation issues continue during cold-weather exercise.