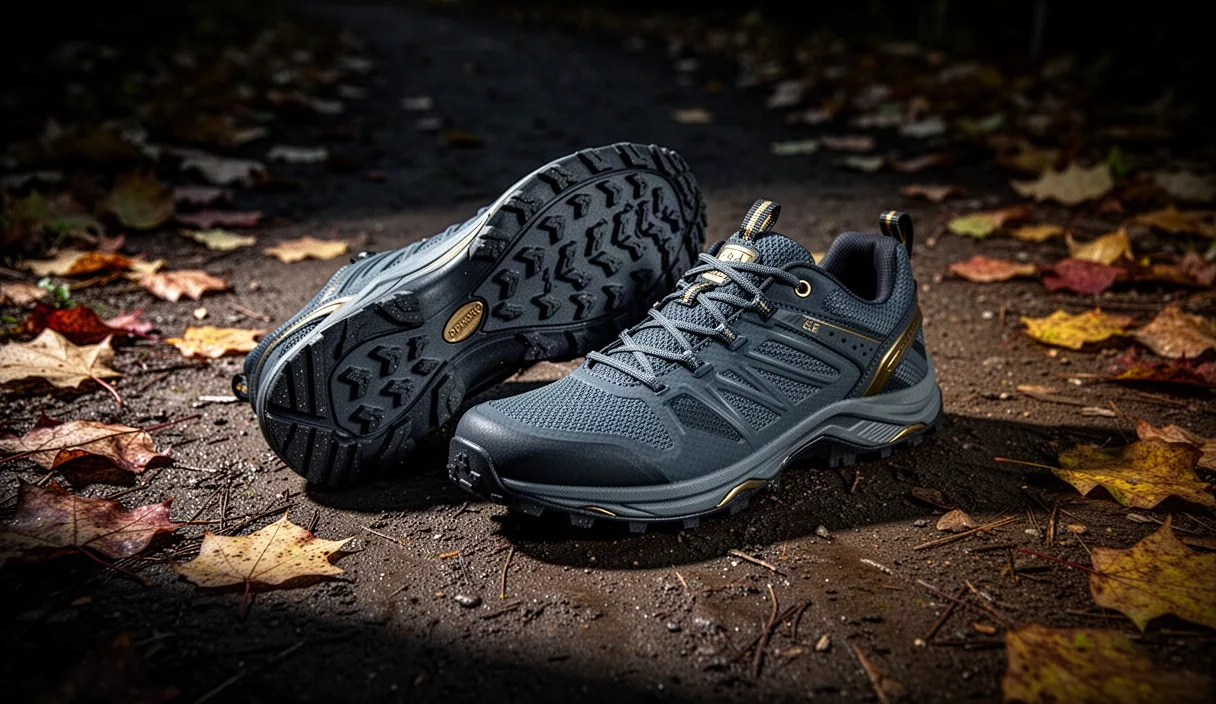

Selecting footwear for mixed terrain walking requires balancing torsional stability, impact dampening, and sole flexibility. Walkers traversing paths in East Anglia frequently shift between packed asphalt roads, wet flint trails, and waterlogged grass within a single outing. Shoes engineered exclusively for road running often lack the lateral support and outsole traction necessary for off-road tracks, while heavy mountain walking boots can restrict the natural articulation of the foot on level, firm surfaces.
The interaction between the foot and the ground changes depending on stride rate, pole use, and surface compliance. Choosing the correct shoe geometry and material specification reduces premature fatigue in the intrinsic foot muscles, limits shear stress on the skin, and protects the soft tissues of the lower kinetic chain. This guide details the technical requirements for walking shoes used across trails and hard surfaces, providing measurable criteria for your next equipment evaluation.
Biomechanical Demands of the Nordic Foot Roll
The foot roll in dedicated walking, particularly when utilizing Nordic walking poles, differs fundamentally from the landing mechanics of running. In running, contact typically occurs on the midfoot or forefoot, or via a brief heel contact under a flexed knee. In brisk walking, the foot contacts the ground distinctly on the posterior lateral edge of the heel with an extended knee, rolls through the lateral midfoot border, crosses the metatarsal heads, and pushes off forcefully through the hallux, or big toe. This complete pathway is termed the gait cycle foot roll.
Footwear must accommodate this specific progression without introducing mechanical blocks. A shoe with an excessively rigid midsole plate prevents the metatarsophalangeal joints from extending during the terminal stance phase. When the shoe cannot bend across the ball of the foot, the walker tends to compensate by externally rotating the hip or cutting the push-off phase short, which decreases power output and can overload the Achilles tendon.
Conversely, a shoe that is completely unstructured allows the foot to collapse inward too quickly on firm ground. On hard surfaces like asphalt, the initial heel strike sends a shock wave up the tibia. The heel counter must hold the calcaneus vertically aligned to prevent excessive eversion, while the midsole under the heel requires enough viscoelastic material to attenuate the initial strike without bottoming out.
On mixed trails, the demands multiply. Ground irregularity forces the subtalar joint to invert and evert continuously. The footwear requires enough torsional flexibility to let the forefoot adapt to cambered terrain while maintaining sufficient rearfoot stability to keep the heel secure in the heel cup.
Comparing Trail Runners and Walking Shoes
Walkers often choose between specialized low-cut walking shoes and trail running shoes. While both categories offer alternatives to ankle-high boots, their construction focuses on different structural priorities. Trail running shoes emphasize low mass and rapid drainage, whereas dedicated walking shoes emphasize longevity, upper structure, and torsional resistance.
The following table outlines the structural differences between these two footwear classes:
| Feature | Trail Running Shoe | Low-Cut Walking Shoe |
|---|---|---|
| Average pair weight (UK size 9) | 580 g to 680 g | 800 g to 980 g |
| Midsole foam density | Single or dual-density EVA or TPU (softer) | High-density polyurethane or firm EVA |
| Torsional rigidity | Moderate to flexible | Moderate to high (often with internal shank) |
| Upper material durability | Breathable engineered mesh with TPU overlays | Split leather, nubuck, or heavy woven nylon |
| Flex point location | Under the metatarsals, rapid rebound | Under the metatarsals, stiffer transition |
| Expected lifespan | 600 km to 800 km | 1100 km to 1600 km |
Trail runners perform well on soft turf, muddy forest tracks, and deep loam where their deep lugs bite into the soil and their lower mass reduces the energy cost of swinging the leg forward. However, the softer midsole foams used in trail runners tend to compress rapidly under repetitive load when walked across tarmac or concrete. Once foam packs out unevenly, it can alter foot biomechanics.
Low-cut walking shoes feature firmer compounds, frequently polyurethane, that resist compression across thousands of loading cycles on hard roads. The stiffer chassis protects the foot against stone bruising without needing aggressive rock plates, but the additional weight can cause muscular fatigue in the hip flexors during high-cadence sessions exceeding 15 kilometers.
Heel Drop Considerations for Pelvic Alignment
Heel drop, or heel-to-toe differential, defines the difference in stack height between the heel cushion and the forefoot cushion. This metric is expressed in millimeters. Stack heights typically range from zero drop (0 mm) to high drop (10 mm to 12 mm). Heel drop directly dictates the working angle of the ankle joint and the downstream position of the pelvis during the stance phase of walking.
A high heel drop of 10 mm to 12 mm elevates the calcaneus relative to the forefoot. This reduction in the required range of dorsiflexion relieves tension on the Achilles tendon and the gastrocnemius-soleus complex. Walkers with chronic calf tightness, plantar fasciitis, or limited ankle mobility often find immediate relief in high-drop footwear. However, elevating the heel shifts the center of gravity forward, which can encourage an anterior pelvic tilt and increase lumbar lordosis if the walker lacks core stability.
Moderate drop shoes (ranging from 5 mm to 8 mm) provide a practical middle ground for mixed-surface walking. This offset permits a natural heel strike without restricting the range of motion needed to roll fully onto the forefoot. It encourages a neutral pelvic position, distributing loading forces evenly between the lower back, hamstrings, and knees.
Low drop shoes (0 mm to 4 mm) require the calf musculature and Achilles tendon to lengthen through their full anatomical range during every stride. On flat asphalt surfaces, zero-drop shoes force the foot to work harder to absorb the impact of heel strike. If you choose to lower your shoe drop, make the transition over several months to avoid overloading posterior structures. Anyone managing active Achilles tendinopathy or structural foot deformities should consult a physiotherapist or podiatrist before making significant drop adjustments.
Outsole Compounds and Grip Across Wet Terrain
Outsole performance depends on two main engineering factors: lug geometry and rubber compound hardness. Lug geometry determines how mechanical grip functions in penetrable surfaces like mud and wet grass, while the compound formulation dictates chemical adhesion on hard, wet surfaces such as slick flint, wet timber bridges, and asphalt.
Lug depth presents a direct trade-off between soft-ground traction and hard-surface comfort:
- Shallow lugs (1.5 mm to 3 mm): Best suited for paved surfaces, towpaths, and hard-packed gravel. They maximize surface contact area with the ground, preventing the rubber from squirming beneath the foot. On wet mud, however, they clog quickly and lose grip.
- Moderate lugs (3.5 mm to 4.5 mm): The versatile standard for mixed outings. They penetrate shallow mud while remaining stable on tarmac stretches.
- Deep lugs (5 mm to 6.5 mm): Designed for soft mud, bog, and loose soil. On tarmac or concrete pavements, these tall lugs create point pressures under the metatarsals, wear down quickly, and reduce contact friction on wet stone.
The durometer, or hardness, of the rubber compound determines its durability and traction. Hard rubber compounds, with a Shore A rating above 70, resist abrasion against rough asphalt and dry granite, giving the shoe a long operational life. However, these hard rubbers become slippery on wet, smooth surfaces such as exposed tree roots and chalk paths. Softer rubber compounds, measuring between 55 and 65 Shore A, deform around microscopic surface irregularities, delivering dependable friction on wet rock. The compromise is accelerated wear when used for extended mileage on dry, abrasive roads.
For paths featuring wet chalk and hard road links, select an outsole featuring multidirectional, widely spaced 4 mm lugs composed of a medium-soft, sticky rubber compound. Widely spaced lugs shed clay and mud through regular sole flexion, preventing the shoe from turning into a smooth, slick surface.
Lacing Adjustments to Prevent Heel Slippage
A correct shoe shape cannot perform if the foot slides within the upper. Heel slippage causes frictional blisters, burns through the interior lining fabric, and destabilizes the foot during ground contact. You can eliminate micro-movements of the rearfoot without overtightening the laces over the dorsal nerves by using specialized lacing configurations.
Executing the Heel-Lock Lacing Technique
The heel-lock, also known as the runner's loop or lace lock, utilizes the secondary eyelets situated nearest the ankle collar to pull the heel cup firmly against the back of the calcaneus.
- Thread the lower eyelets normally: Lace the shoe using standard criss-cross lacing up to the second eyelet from the top, maintaining comfortable tension across the midfoot.
- Form the lateral loops: Instead of crossing over to the opposite side, take each lace end and insert it straight up into the final eyelet directly above it on the same side, inserting the lace from the outside in. Leave a loop of lace roughly 20 mm high on both the lateral and medial sides.
- Cross the ends through the loops: Cross the lace ends over the tongue and thread the right lace end through the loop formed on the left side, and the left lace end through the loop on the right side.
- Cinch downward and forward: Pull both lace ends at a forward and downward 45-degree angle. This drawing action collapses the loops flat against the upper, pulling the eyelet row backward and locking the collar around the ankle.
- Tie the standard knot: Fasten the laces with your regular knot. The tension remains locked behind the loops, preventing the knot from loosening while walking.
Relieving Dorsal Pressure
If you experience numbness, tingling, or pain across the top ridge of the foot, the lacing may be compressing the superficial peroneal nerve against the underlying tarsal bones. To correct this without sacrificing overall fit:
- Locate the pressure point: Identify the specific eyelet pairs positioned directly above the sensitive area on the foot.
- Unlace through the zone: Thread the laces out of the shoe back to the eyelet pair immediately below the tender point.
- Run the laces parallel: Route the laces straight up the sides to the next eyelet up, skipping the crossover at that specific junction. This leaves a gap directly over the sensitive dorsal area.
- Resume cross-lacing: Continue cross-lacing through the remaining eyelets up to the collar, finishing with a standard knot or a heel lock.
Common Mistakes
Walkers often undermine their footwear selection by repeating several common errors during fitting and use:
- Buying based solely on street shoe size: The human foot expands both in length and width under the repetitive impact of walking, especially on routes longer than 10 kilometers. Footwear should typically be half to a full size larger than casual street shoes to leave roughly 12 mm of clearance between the longest toe and the front of the toe box.
- Relying on waterproof membranes for warm, hard-surface walking: Membrane liners restrict air circulation and trap sweat. On warm, firm trails, wet skin softens and blisters quickly. Breathable, non-waterproof mesh drys faster after splashing through shallow water and keeps the skin barrier intact.
- Ignoring insole degradation: Factory footbeds are primarily thin EVA spacers that pack flat after roughly 200 km. Replacing them with structured, medium-density insoles restores arch support and heel stability long before the shoe's outsole wears out.
- Neglecting uneven outsole wear: Continuing to walk in shoes where the lateral heel or medial forefoot is worn down forces the lower limb into abnormal movement patterns. Replace footwear when the lug profile shows localized, uneven wear.
Practical Next Steps
To establish the best shoe choice for your specific walking requirements, take a methodical approach to evaluating your current gear and testing new options.
Begin by measuring your feet at the end of the day, when fluid retention brings them to their maximum volume. Record both the length and width of each foot while standing with full body weight on a measuring scale. Note whether your feet differ in size, and always fit footwear to match the larger foot.
Audit the surfaces you walk on most often. If your routes consist of 70% tarmac and hard gravel with occasional grass verges, choose an 8 mm drop shoe with a durable polyurethane-blend midsole and low-profile 3 mm lugs. If your routes take you primarily over wet grass, farm tracks, and soft woodland loam, prioritize a shoe with a flexible forefoot, sticky rubber compound, and 5 mm lugs.
When trying on new shoes, bring the exact socks and any prescription orthotics you plan to use on the trail. Test the shoe on an incline or stairs: your heel must remain pinned to the back of the footbed during ascents, and your toes must not contact the front bumper during descents. If heel slipping occurs, apply the heel-lock lacing method described above before trying a different shoe size or last shape.