
Nordic walking relies on an active, rearward propulsion stroke using specialized poles equipped with wrist straps. Unlike trekking poles, which primarily provide vertical stability and balance during mountain hiking, Nordic walking poles function as levers to engage the upper body, redistribute mechanical work from the lower limbs, and accelerate walking cadence across flat or rolling ground. The efficiency of this movement depends directly on pole length. A shaft that deviates by even 5 centimeters from an individual's biomechanical requirement alters joint angles, reduces propulsion efficiency, and introduces unnecessary strain to the shoulder girdle and neck.
Determining correct pole length requires both a mathematical calculation and physical verification in full walking gear. While standard reference tables provide an initial baseline, individual variations in limb proportions, torso length, footwear stack height, and personal mobility require fine adjustments. This guide details the baseline formulas, physical alignment checks, shaft material considerations, terrain modifications, and symptoms of an improper fit so that walkers can configure their equipment for stable, injury-free movement.
Baseline Height Formula and Anthropometric Variance
The standard starting point for sizing a Nordic walking pole is a coefficient calculation based on total body height. The international baseline formula multiplies standing height in centimeters by 0.68. For example, a walker measuring 175 centimeters tall calculates their base pole length as follows: 175 multiplied by 0.68 equals 119 centimeters. Because fixed-length poles are manufactured in 5-centimeter increments (such as 105, 110, 115, 120, and 125 centimeters), an individual calculating 119 centimeters selects the nearest standard size, which is 120 centimeters.
The 0.68 multiplier applies specifically to recreational walkers of average fitness and standard proportions. Biomechanical organizations and instructors often adjust this coefficient between 0.66 and 0.70 depending on user fitness, functional goals, and joint mobility:
- Gentle or Rehabilitation Pace (0.66 multiplier): Walkers recovering from lower back or lower extremity injuries, or those managing reduced shoulder mobility, benefit from a lower leverage point. For a 170-centimeter walker, this yields 112.2 centimeters, rounded to 110 centimeters.
- Standard Fitness Pace (0.68 multiplier): Walkers seeking balanced cardiovascular work and torso rotation on level paths. For a 170-centimeter walker, this yields 115.6 centimeters, rounded to 115 centimeters.
- Athletic or High-Speed Pace (0.70 multiplier): Experienced walkers seeking deeper arm extensions, longer strides, and higher muscular engagement in the triceps and latissimus dorsi. For a 170-centimeter walker, this yields 119 centimeters, rounded to 120 centimeters.
Anthropometric variance frequently disrupts simple height charts. Two individuals of identical 180-centimeter height can possess substantially different leg-to-torso ratios and arm lengths (ape index). A person with a longer torso and shorter arms requires a longer pole than someone of the same height who possesses long arms and a short torso. Furthermore, footwear affects the standing height. Running shoes with a 30-millimeter sole stack add directly to vertical height compared to minimalist shoes with a 10-millimeter stack. Therefore, the formula serves solely as a preliminary estimate; final sizing requires physical verification.
Checking the Right Angle at the Elbow Joint
The definitive test for Nordic walking pole length is the elbow joint angle in a static standing stance. This check must be performed while wearing the exact shoes intended for walking, and on a flat, non-yielding surface such as concrete, asphalt, or firm flooring.
To perform the test, insert the hands into the strap systems (also termed gauntlets) and secure the hook-and-loop closures around the wrists. Stand upright with feet hip-width apart, shoulders relaxed and down, and the chest comfortably open. Plant the pole tips on the ground directly adjacent to the midfoot or slightly back toward the heels, holding the handgrips firmly. The poles should stand vertically, perpendicular to the floor.
Observe the angle formed between the upper arm and the forearm. A correct setup produces an angle between 88 and 90 degrees at the elbow joint. At this angle, the forearm sits parallel to the ground or slants downward by a negligible 1 to 2 degrees. If the forearm angles upward toward the chest, creating an acute angle below 85 degrees, the pole is too long. If the forearm angles visibly downward toward the floor, creating an obtuse angle beyond 95 degrees, the pole is too short.
| Measured Elbow Angle | Shaft Alignment Status | Biomechanical Effect | Required Action |
|---|---|---|---|
| Less than 85 degrees | Pole is too long | Elevates shoulders; strains trapezius muscles; limits rearward extension | Shorten shaft by 2.5 to 5 centimeters |
| 88 to 90 degrees | Pole is correct | Permits relaxed shoulder depression; maximizes horizontal propulsive drive | Maintain current shaft length |
| Greater than 95 degrees | Pole is too short | Causes forward trunk bending; reduces arm lever efficiency; shortens stride | Lengthen shaft by 2.5 to 5 centimeters |
When running this test with rubber asphalt pads installed on the pole spikes, remember that the pads add approximately 1.5 to 2.5 centimeters of total length. If the poles will be used predominantly on natural forest soil or gravel where the metal tungsten carbide tips sink 1 centimeter into the ground, the elbow check must account for that difference. Test the pole with the specific tip configuration intended for the primary walking surface.
Adjustable Poles Versus Fixed-Length Carbon Shafts
Walkers must choose between two distinct pole constructions: fixed-length single-piece shafts or adjustable telescoping shafts. Both options feature distinct engineering characteristics that influence performance, vibration management, and sizing convenience.
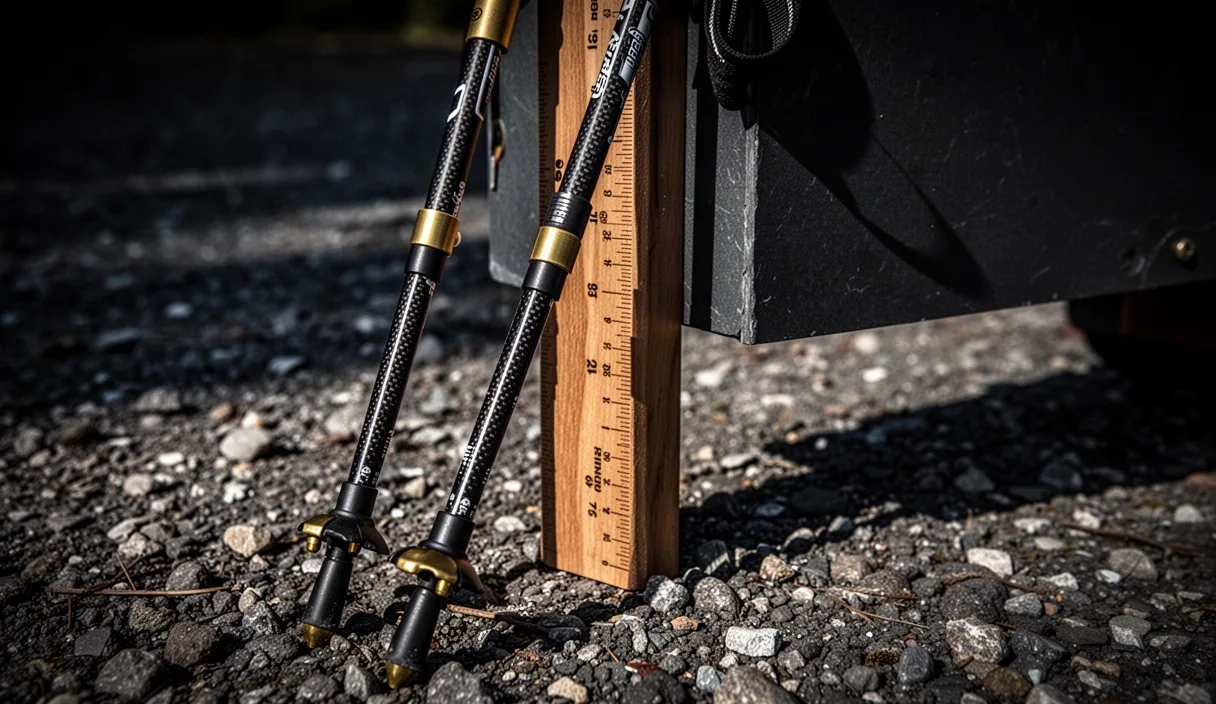
Fixed-length poles are constructed from a single continuous tube of aluminum or carbon fiber composite. Because they lack internal expansion wedges or external lever locks, they are lighter in swing weight and contain fewer mechanical failure points. High-percentage carbon fiber shafts absorb high-frequency impact vibrations generated when the pole strikes hard pavement, protecting the wrist, elbow, and shoulder joints. However, a fixed-length pole demands an exact initial purchase decision. If your fitness evolves, or if you change from thin road flats to thick-soled trail shoes, the pole length cannot be modified.
Adjustable poles feature two or three interlocking sections secured via twist-lock mechanisms or external cam levers. Their main advantage is flexibility: they can be resized between family members, altered across varied terrain, and compressed down to 65 centimeters for transport in luggage. Conversely, adjustable poles carry slightly more weight and exhibit a higher center of gravity, which alters the forward swing rhythm. Over time, locking mechanisms can collect dirt or slip under aggressive horizontal loading if not cleaned regularly.
| Feature | Fixed-Length Carbon Pole | Adjustable Two-Piece Pole |
|---|---|---|
| Weight per pair (approximate) | 300 to 360 grams | 420 to 520 grams |
| Vibration absorption | High (reduces joint stress on road) | Moderate (joints interrupt dampening) |
| Length adaptability | None (fixed to single dimension) | Continuous (typically 100 to 130 cm) |
| Transport convenience | Low (requires dedicated storage space) | High (collapses for travel) |
| Structural stiffness | High (no flex at connection points) | Moderate (minor play at locking collars) |
Beginners often benefit from starting with a reliable two-piece adjustable pole. This allows experimentation across a range of 2 to 4 centimeters while technique develops. Once technique stabilizes and preferred stride dynamics become consistent, investing in a dedicated fixed-length carbon pole offers superior swing mechanics and shock absorption for regular training.
Terrain Corrections for Ascent and Descent
While the standard elbow angle test applies to flat surfaces, prolonged elevation changes introduce distinct mechanical demands. When climbing or descending continuous hills, maintaining a fixed pole length forces the shoulders and back into awkward postures. Walkers utilizing adjustable poles should apply systematic length modifications based on the gradient.
When ascending steep gradients, the ground meets the pole tip earlier in its forward arc. If the pole remains at its flat-ground setting, the hands are forced higher than the chest, causing the upper trapezius muscles to contract continuously and lifting the shoulders toward the ears. To counteract this, shorten each pole by 5 to 10 centimeters depending on the steepness. A shorter shaft allows the arm to drive backward at a mechanically advantageous angle, applying downward and rearward force without compromising scapular stability.
When descending continuous slopes, the ground falls away ahead of the body. Poles adjusted for flat terrain will hit the surface too late in the gait cycle, causing the walker to lean excessively forward to make contact, which destabilizes the center of mass. For prolonged descents, lengthen both poles by 5 to 10 centimeters. This modification enables early ground contact ahead of the body, providing safe braking assistance and distributing load away from the patellofemoral joint without rounding the thoracic spine.
For rolling paths characterized by short, frequent undulating climbs and dips of less than 20 meters, leave the pole length unchanged at your baseline setting. Constantly stopping to readjust levers disrupts the cardiovascular flow of Nordic walking. Instead, adjust the point of grip or adapt step length to accommodate minor terrain variations without modifying the physical shaft.
Common Signs of an Incorrectly Sized Pole
An incorrect pole size reveals itself through specific kinematic errors and musculoskeletal aches during or after a session. Learning to identify these signs allows you to correct equipment setup before minor tension develops into chronic inflammation.
Indicators of a Pole That Is Too Long
A pole that exceeds the correct dimension disrupts the smooth rearward swing of the arm. The most frequent indicator is shoulder hiking, where the walker involuntarily pulls the shoulder girdle upward toward the ears on every forward strike to clear the tip off the ground. Over a 5-kilometer walk, this repetitive shrugging creates severe tension in the upper trapezius, levator scapulae, and cervical spine.
Additionally, an excessively long pole prevents the walker from opening the hand completely behind the hip at the conclusion of the push phase. The wrist joint is forced into extreme hyperextension, placing repetitive strain on the carpal tunnel and flexor tendons. You may also observe that the pole tips plant too far forward, ahead of the body's center of mass, which acts as an unintentional brake on forward momentum rather than a propulsive aid.
Indicators of a Pole That Is Too Short
A pole that falls below the appropriate length encourages a collapsed, forward-leaning posture. Because the grips are low, the walker tends to hunch the upper back and round the shoulders forward to reach the ground with the tips. This hunching compresses the thoracic cavity, restricts diaphragmatic breathing, and increases shear stress across the lumbar spine.
Mechanically, an undersized pole reduces propulsion efficiency. The arm reaches full extension behind the body prematurely, cutting the acceleration phase of the stride short. The walker misses out on the active push from the strap, resulting in a shuffling stride rather than a lengthened, athletic gait. If you feel that your poles are swinging freely beneath you without biting firmly into the surface behind your stride, the shaft is almost certainly too short.
Common Mistakes
Avoiding standard setup errors saves time and prevents mechanical inefficiency. Review these common pitfalls before committing to an equipment configuration:
- Measuring without footwear: Performing the height formula or elbow angle test in socks or bare feet distorts the measurement by 1.5 to 3.5 centimeters depending on the shoe's outsole thickness.
- Confusing trekking pole sizing with Nordic walking sizing: Trekking poles are often sized shorter to allow a firm, vertical balance plant close to the toes. Nordic walking poles require extra length to permit an angled rearward plant and forceful push-off past the hip line.
- Purchasing solely by height charts: Relying exclusively on pre-printed manufacturer retail cards without verifying the right-angle elbow alignment ignores individual arm-to-torso proportions.
- Ignoring tip thickness: Setting an adjustable pole on indoor carpet without the rubber asphalt paws attached, then adding 2-centimeter rubber paws for an outdoor road session, results in a pole that is unexpectedly too long.
- Squeezing the grip continuously: An incorrect pole length often manifests as an inability to release the grip strap cleanly behind the hip. Walkers then over-grip the handle, causing forearm cramping and numbness in the fingers.
Practical Next Steps
To finalize your Nordic walking pole configuration, execute the following steps in sequence before your next structured training session.
First, calculate your numerical baseline by multiplying your standing height in centimeters by 0.68. Record this number as your initial operational reference point.
Second, put on your standard walking shoes and step onto a flat, solid floor. Secure the wrist straps of your poles, align the tips adjacent to the sides of your feet, and check your elbow position in a full-length mirror or have a partner view you from the side. Verify that the forearm rests parallel to the floor at an 88 to 90 degree angle. Adjust your telescoping poles, or mark the required fixed-length size down to the nearest available increment.
Third, perform a 10-minute trial walk on a flat path. Focus on relaxing your shoulders down away from your ears, planting the tips angled backward at roughly 45 to 60 degrees, and pushing fully through the straps until your hand opens behind the hip line. If you notice shoulder hiking or wrist pinching, pause and adjust the length by 2 centimeters downward; if you find yourself stooping forward, extend the length by 2 centimeters.
If you experience persistent joint discomfort in the shoulders, elbows, or cervical spine despite precise pole adjustments, discontinue distance sessions and consult a certified Nordic walking instructor or a licensed physical therapist. A professional movement screen can identify underlying shoulder mobility restrictions or postural habits that require attention beyond equipment modifications.