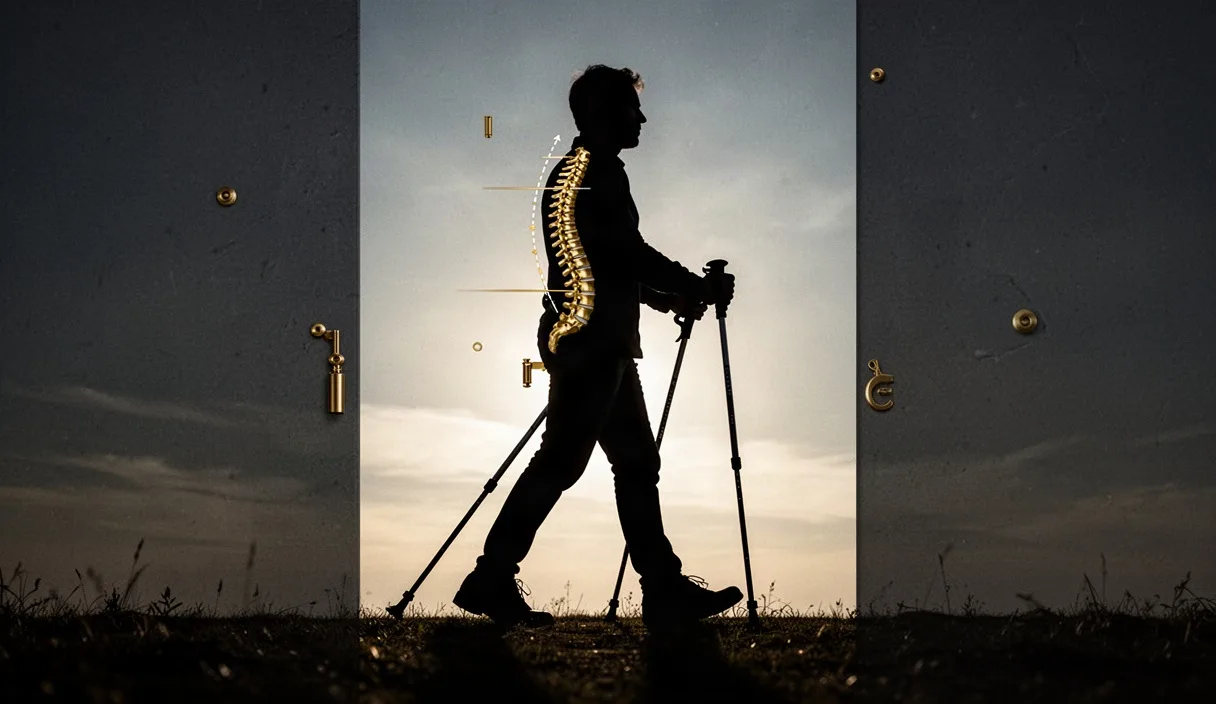

In distance walking and Nordic walking, forward lean is frequently misunderstood. Walkers often interpret the instruction to lean forward as an invitation to bend at the hips or drop the torso toward the ground. True forward lean is not a bend of the spine, but a whole-body displacement of the center of mass that originates at the ankles. When executed correctly, this forward tilt uses gravity to assist horizontal travel, preserving metabolic energy across long distances.
When the lean originates from the waist or the cervical spine, biomechanical efficiency declines. Flexion through the torso strains passive connective tissues, restricts thoracic expansion during breathing, and redirects ground reaction forces into braking vectors rather than propulsion. Correcting these postural faults requires understanding joint mechanics, managing eye placement, and applying systematic checks during training sessions.
The Distinction Between Ankle Lean and Waist Flexion
The human body functions as an inverted pendulum during upright walking. To create forward momentum without overstriding, the entire kinetic chain must tilt forward slightly from the base of support. In biomechanics, this is termed an ankle-dominant lean. The pivot occurs entirely at the talocrural joint. The line connecting the lateral malleolus, the greater trochanter, the acromion process, and the external auditory meatus remains straight, tilting forward between 4 and 7 degrees from the vertical axis.
Waist flexion occurs when the walker bends forward from the acetabulofemoral joints or flexes the lumbar vertebrae while keeping the lower limbs vertical. This movement breaks the body into two competing segments. The upper torso projects forward over the base of support, but because the pelvis drops backward to counterbalance the head and chest, horizontal propulsion is lost. Waist flexion causes the foot to land too far ahead of the body, which increases heel strike impact forces and creates a braking action with every stride.
| Mechanical Variable | Ankle-Dominant Lean | Waist-Dominant Flexion |
|---|---|---|
| Primary Axis of Rotation | Talocrural joint (ankle) | Acetabulofemoral joint (hip) or L1-L5 vertebrae |
| Structural Alignment | Linear from ankle to ear | Angular break at pelvis or lower back |
| Propulsive Vector | Directed posteriorly through ground contact | Directed vertically or counterbalanced backwards |
| Primary Muscular Demand | Gastrocnemius, soleus, posterior chain | active vitality spinae, neck extensors (isometric strain) |
| Impact on Breathing | Thoracic cavity remains open | Abdominal compression limits diaphragm travel |
Maintaining the ankle lean requires adequate calf flexibility and active control of the anterior tibialis and peroneals. If ankle dorsiflexion is limited to less than 10 degrees with a straight knee, the body cannot achieve this forward tilt. In such cases, the walker will default to waist flexion to simulate forward motion, leading to lower back fatigue within 30 to 45 minutes of sustained walking.
Cervical Spine Position and Eye Line Placement
The human head weighs between 4.5 and 5.5 kilograms in a neutral anatomical position. When the cervical spine rests directly over the shoulders, this load is transferred efficiently through the vertebral bodies and facet joints down to the sacrum. For every 2.5 centimeters that the head migrates forward, the mechanical load placed on the cervical extensor muscles increases significantly. At an angle of 30 degrees of forward neck flexion, the effective weight supported by the posterior neck musculature reaches approximately 18 kilograms.
Eye line placement governs cervical orientation. Walkers scanning the ground directly in front of their shoes pull the skull into forward flexion. This downward gaze rounds the upper thoracic spine and pulls the shoulders inward into internal rotation. Over several kilometers, this posture leads to neck tension, reduced oxygen intake, and an exaggerated forward hunch that impairs balance.
To establish the correct cervical position, walkers should follow these targeted corrections:
- Direct the gaze along a forward trajectory: Focus on the ground between 10 and 15 meters ahead. This distance provides adequate hazard detection on trails while allowing the cervical spine to stay close to vertical.
- Perform an active axial extension: Imagine a gentle upward pull at the crown of the skull. This movement tucks the chin slightly without flexing the neck downward, centering the ear lobes directly above the acromion processes.
- Keep the clavicles broad: Allow the chest to remain open without arching the lower back. This posture stabilizes the cervical spine on top of a neutral thoracic cage.
Optimizing Pole Plant Angle for Propulsion
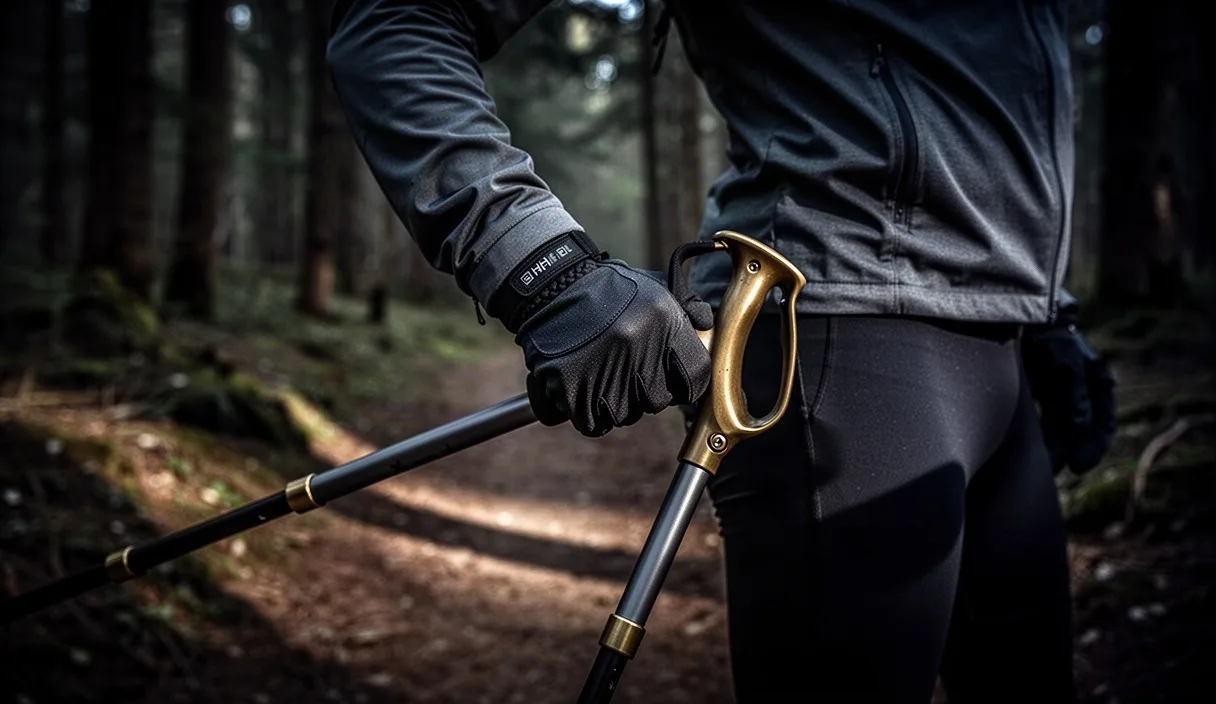
In Nordic walking and trekking, poles act as levers to drive the body forward. The effectiveness of each pole strike depends entirely on the angle at which the shaft enters the ground. A plant angle that is too vertical acts as a brake, sending impact shocks up the arm into the shoulder joint. A plant angle that is too acute reduces grip against the terrain and causes the pole tip to slip.
The ideal pole plant angle falls between 55 and 65 degrees relative to the ground behind the walker. At this angle, downward force applied through the grip and strap translates into horizontal forward propulsion. The pole tip must make contact with the terrain opposite or slightly behind the heel of the leading foot, never forward of the front toes.
Adjusting the stroke requires precise joint management:
- Initiate movement from the glenohumeral joint: The forward swing must originate at the shoulder, not through elbow flexion. The elbow remains in a soft, open position of approximately 140 to 160 degrees throughout the initial forward swing.
- Set the tip at ground strike: As the leading foot contacts the ground, drop the carbide tip or rubber pad backward onto the surface at the designated angle. Ensure the wrist stays straight and locked with the forearm to transmit power cleanly.
- Press through the strap: Apply force through the palm and wrist strap rather than squeezing the handle with the fingers. Push downward and backward until the hand passes behind the hip plane.
- Release the grip during extension: Open the hand at the end of the push to permit full arm extension behind the torso, allowing the pole to form an unbroken diagonal line with the arm.
Kinetic Chain Consequences of Lumbar Rounding
Lumbar rounding, or excessive lumbar kyphosis, disrupts the mechanical balance of the entire lower body. In an efficient walking gait, hip extension is essential: the trailing leg should extend behind the pelvis between 10 and 15 degrees before the toes lift off. When the lumbar spine rounds forward, the pelvis rotates posteriorly. This backward tilt limits how far the hip can extend behind the body.
When the hip cannot fully extend, the body compensates through distinct mechanical faults. First, the trailing foot breaks contact with the ground early, cutting the propulsion phase short. Second, to make up for the short push behind the body, the walker takes a longer step forward, causing the front foot to strike the ground far ahead of the center of mass. This overstriding increases the braking impulse and sends excessive impact force through the knee and hip joints.
Additionally, lumbar rounding places the gluteus maximus at a mechanical disadvantage. The gluteus maximus is the primary engine of hip extension during the second half of the stance phase. When lumbar flexion inhibits gluteal recruitment, the hamstrings and the lower adductors must compensate to pull the body forward. This compensation leads to premature hamstring fatigue, tight hip flexors, and a loss of walking speed.
The structural changes caused by lumbar rounding also affect breathing mechanics. A rounded spine compresses the abdominal cavity, preventing the diaphragm from descending fully during inhalation. This reduces tidal volume, forcing the body to rely on secondary neck and chest muscles for breathing. As a result, the walker expends more energy to breathe while taking in less oxygen.
Field Checks to Verify Upright Alignment
Postural faults often develop gradually as a walker tires. Implementing standardized self-checks during a walk allows you to detect and correct deviations before poor mechanics cause fatigue or strain.
- The Pole Alignment Check: Stop walking on level ground. Place one pole vertically against your spine so that it contacts the sacrum, the thoracic spine between the shoulder blades, and the back of the head. If the pole loses contact with any of these three points, adjust your posture until all three touch the shaft. Maintain that alignment as you resume walking.
- The Lateral Shadow Assessment: On clear days with low sun (early morning or late afternoon), observe your shadow cast to the side. Look at the silhouette: you should see a single diagonal line leaning forward from the ankle to the ear. If the shadow reveals a crease at the hip or a protruding head, reset your alignment by engaging your glutes and lifting your chest.
- The Foot Strike Sound Test: Listen to the acoustic profile of your footsteps. A heavy, slapping heel contact indicates waist flexion and overstriding. An ankle-dominant lean produces a quieter, rolling transition from the lateral heel to the metatarsals.
- The Rib-to-Pelvis Measurement: Place your thumbs on the bottom edge of your ribcage and your index fingers on the front of your hip bones (anterior superior iliac spine). The distance between these two points should remain consistent throughout your stride. If the space shortens, your lumbar spine is rounding. If the space widens excessively, you are overarching your lower back.
Common Mistakes
Walkers attempting to fix these posture problems frequently substitute one mechanical error for another. The following patterns are especially common:
- Overarching the Lumbar Spine: Attempting to avoid a rounded back by forcing the chest upward often leads to lumbar hyperlordosis. The lower back arches excessively, which shuts off the deep core muscles and jams the posterior lumbar facet joints.
- Planting Poles Ahead of the Front Foot: Moving the pole strike forward of the lead foot creates a mechanical brace that halts forward momentum, requiring extra effort from the legs to overcome the stall.
- Tilting Only on Uphills: Many walkers bend sharply at the waist when climbing hills. The body should instead lean farther into the hill entirely through the ankles, keeping the spine aligned with the slope.
- Fixing the Arm at the Elbow: Pumping the arms entirely from the elbows instead of swinging from the shoulders limits the pole angle and prevents horizontal force from reaching the ground.
Practical Next Steps
Correcting established gait faults requires consistent, deliberate practice rather than sudden, dramatic overhauls. Begin by dedicating the first 10 minutes of every walk to posture practice. Focus solely on ankle lean, an eye line directed 12 meters ahead, and quiet foot strikes. Once this positioning feels natural, shift your attention to pole plant angles and trailing leg extension.
Incorporate ankle mobility work into your weekly training. Perform eccentric heel drops off an elevated step and calf stretches with a straight knee to build the dorsiflexion needed for a true ankle-driven lean. Pair this with thoracic extension drills over a foam roller to help open up the chest and counteract forward head posture.
If you experience sharp joint pain, numbness in the arms or legs, or ongoing lower back discomfort that does not improve with form adjustments, stop these drills and consult a registered physical therapist or certified clinical biomechanist. A professional movement screening can identify structural joint limitations or muscle imbalances that need targeted treatment before you return to high-volume walking.